mama scout lab e-course

Showing posts with label make. Show all posts

Friday, January 10, 2014

{make} wax paper mono prints


Inspired by this post about plastic bag mono printing, my daughter and I spend a sick day working with wax paper, watered down acrylics, paper and a brayer.

Mono printing is a print making process that makes one unique print at a time. There is no stamp or printing plate that allows you to make multiples. One is all you get.

They are simple and fun.

Basically, we painting designs and abstracted shapes with watered down acrylic paint (sometimes scratching into them or altering the texture in some way.

Then you flip over the wax paper onto your art paper (water color, newsprint, cardboard, anything...) and rub it with your hand or a brayer. I love using a brayer because it gives a consistent pressure along the whole piece.

Carefully peel back the wax paper and see what you have.

Add more layers to it. We just folded our wax paper over onto itself as we added more details.

This activity is great because it is economical and so open ended.

Parents should be at the table playing next to their kids. We have the best time and discover the most when we make art side by side.  If you have a hard time just playing with color - what about making journal pages with spaces that you can write on later? or think about making cards, book marks or gift tag with the resulting fields of color? If nothing else you can have pretty paper for your grocery list.


Friday, November 16, 2012

{geography lab} salt dough land forms


Are you good at geography? I never understood geography until I was an adult. I think for many kids, geography is too abstract and seems meaningless.

I discovered that I learn places on a map from experience, either traveling or through really amazing stories. The notion of memorizing capitals and countries without a tether to something real is about as alluring to me as cleaning the bathroom. Learning metro and train systems, driving through states, or pouring over maps of the places I read about is how I have come to understand the world and its physicality. 

To that end, my kids recently did a project that would be amazing for anyone learning about a specific place. We made salt dough maps of our state. You can see examples of this project all over Pinterest, so I guess it is a classic that was just under the radar for me. It is so simple. 

1. Make salt dough (recipe at bottom)
2. Print out or draw a map of your geographical area
3. We put our map in a plastic page protector. This meant that we could not cook it in the oven, but had to let it air dry. 
4. Put a ball of dough on the map and shape. We used toothpicks to pull the dough into the perfect coastline. 
5. Add specific features (mountains, prominent water features, bays etc.)
6. Let dry. (During this time, we pulled out the map and watercolored the ocean)
7. Paint landform.

You can make these and store them in pizza boxes if you want.


The physical connection to the the land form makes understanding our state so much easier. My kids completely get that there is a high ridge that runs down Florida. (And how that affected the early animals who lived here and why we can find shark teeth in the middle of the state). 

Have you done this with your kids?

What would be the defining feature for your state?


Make salt dough

Ingredients
1 cup salt
2 cups all purpose flour
1 cup warm water

mix and knead for 5 minutes.

air dry or bake at 200 (the time depends on the thickness, so check every 20 minutes)

we paint ours with acrylic craft paint and then seal with a spray varnish


Friday, November 2, 2012

{make} mailing tube rain stick


My son had to make a musical instrument for his music class and decided to make a rain stick. We had done this several years ago, and I was anxious to try out my newer (and easier) method.  


This is actually ridiculously easy, it hardly needs a tutorial. 

We used a very strong mailing tube, sharp drywall nails that were short enough to not poke all the way through the tube, and a variety of dry goods to make the rain sound (rice, beans, salt).

We started hammering around the seam and eventually just nailed everywhere. After we had as many nails as we thought the tube needed, we added the dry goods and adjusted them as we tested the sound. We just put the stoppers back in the ends of the mail tube, but you might want to duct tape or glue them, especially if you have a very young child who might open them up. 

And of course you might want to decorate your rain stick when you are done! My son decided he really liked the white and silver and did not want to add anything else. 

The sound this makes is lovely and makes a great addition to our musical instrument collection.

Have you made a rain stick before?

Monday, October 29, 2012

{art lab} finding art in the street


We like to look. And spend a lot of time in the alley ways around our house hunting for things, recording textures, and even hanging poems on trees. When I ran across Carla Sonheim's tutorial on blob hunting, I knew what our next alley adventure would be (and that I had found a great new resource).


We headed out with our creativity journals and looked for shapes that were made from stains, cracks, leaves, shadow or anything that caught our fancy. This exercise required that everyone really look past the actual items they were seeing in the road to the primary shapes that were revealed. 


I was happily surprised at how much we got into this. Despite the fact that we were just going to collect the shapes (and then go inside with art supplies) they stopped to draw what they saw immediately. 

In fact, I was unable to participate as much as I had planned because I was ping-ponging back and forth as each kid wanted to show the magical scenes they were discovering under their feet.


This reminded of a water painting project we did a few weeks ago. 

These sorts of things seem so simple, but are really a linchpin of our curriculum. By just learning to slow down and look, and then imagine, kids' worlds are rapidly expanded. 

They begin to make new connections and see fresh possibilities in even the most mundane circumstances. 


Schools will not teach your children to see maps in paint spills or dancing men in sidewalk cracks. As this is not a quantifiable skill, you will not see it on any worksheet - which is why it is so imperative for parents to provide this type of experience for their children as much as possible. 


This is not about raising dreamers, it is about raising thinkers. 

Thinkers and doers who will create technologies, write novels and plays, and discover scientific breakthroughs because they are able to look at disparate information in unique ways. 


Friday, October 26, 2012

{art lab} japanese paper marbling


A recently mini obsession around here has been suminagashi, or Japanese marbling. 

I originally organized to do this with some friends, but knew my kids would love it too. We had done the shaving cream and paint marbling in the past, but this is even more fun!


Basically, what you are doing is putting drops of ink onto the surface of the water and then manipulating it by pulling a toothpick through, blowing on it or gently tapping the tub.

After you have a design you like, you set your paper onto the surface of the water and like magic all the dye is transferred. 


I bought the ink online(link below) and a stack of dish tubs from the dollar store. I also ordered some special rice paper but as it did not arrive in time, we used plain old computer paper and it worked perfectly (watercolor paper and card stock were NOT good paper options). 


Kids are amazing at this! In fact, I think I liked my kids' designs even more than my friends' designs (shhh!). They were so unrestrained with color and really swirled the water around. My 6 year old was so good he even gave his Grandma a lessons while she babysat him. 


So, what to do with all this paper? We have been making it into little books and journals, doing origami, covering the inside flap of books, making paper garlands, writing letters on it and more. 

Just having a stack of it available in your art area is wonderful. 

And this would be a perfect gift for any art minded kid! 


Have you suminagashi-ed before?


This is the kit I used and I was very happy with it. We marbled well over a hundred sheets and I still have tons of ink left!

Thursday, October 11, 2012

magical scribble drawing (and a book review)


I recently received a review copy of Art Lab for Kids by Susan Schwake and love it! I have given this (and other books in the Lab series) as gifts, so was so happy to get my hands on a copy for myself. 

The book has a lab featuring a different art technique for each week of the year, covering: drawing, painting, printmaking, paper art, and mixed media. Some of the ideas you might have heard of, but there are many new-to-me ideas (gelatin printing, contact paper insects, fingertip painting...). 

I am sure you will be seeing more of our experiments from this book on the blog. 

We are not too big on prescribed crafts at Mama Scout headquarters, so books that offer a new technique that the artist can then apply in whatever way makes sense to him/her have high currency here. 

Art Lab for Kids could easily serve as an amazing year long art adventure curriculum for homeschoolers and other creative families. Working your way through the book would certainly fill your house with so much art and color!


For our first project, we made scribble art, which sounds silly but was actually great fun. 

Each person covers a piece of paper in loose scribbles and then sits back to see what images or shapes might be hidden in the tangled nest of lines. 

We then traced and embellished our found images.  Some of us cut them out and added them to new backgrounds.


What I love about projects like this is that each kid approaches it so differently (which is also why I shy away from step by step craft projects). One kid was amazing in all the things she immediately found, but had no interest in turning them into another art piece. The hunt was enough. 


Another kid immediately found a whale and then created a landscape for him to be jumping from the water. 


My youngest child (like me) had a harder time finding many images, so was content with a bird head. He cut it out and added it to a face that was also a galaxy. 

Listening to him describe what he was making was so poetic. And I think if we did not do so many projects like this, I would miss out on these secret pockets of magic and tenderness that are deep in his mind. 


Check out my Holiday Lab and Family Lab if you want to get creative and connect with your kids. 

Wednesday, October 10, 2012

make:: the biggest snowflake ever :: (review & giveaway)


I just received a review copy of Side by Side: 20 Collaborative Projects for Crafting with Your Kids by Tsia Carson and am smitten. (Read to the end!! I have a copy to give away!)

The book is broken up into three sections. The first, features crafts that you can do with your children. The second is brilliant because each project is presented with two companion projects at different levels, so your child and you can work next to each other on independent projects that share a skill set. And the final section offers a few projects to do outside the home. 


As soon as I read the book, I knew that my kids would want to make the giant newspaper snowflake

One of Carson's tips for working with kids is to transform a typical craft project to something really big. I love this idea and can see how it might be applied to a myriad of projects around here. 


To make the snowflake, use making tape to tape double-spreads of newspaper sheets into a huge square. Carson recommends a 12 foot square but it works at any size. Ours was about 7 feet (four double spreads wide and tall). 

Fold the square into a triangle. Then fold in half as many times as you can. 

Round off the top. 


Cut your designs into the paper. (We made ours with guides to follow since there were 3-4 people cutting at a time).

The book offers templates, but the general rule is to cut away a lot of the snowflake from either side, without cutting all the way through. 


We had to take turns opening it. Each kid got to open one fold until the whole thing was revealed. We were so impressed with how great it turned out. 


So enamored with this huge beauty, the boys asked to hang it up in their room. It barely fit on the wall, but I can not think of a cooler piece of art!


Not only are the projects unique and engaging (how about a huge seed self portrait on the ground at the park?), but her philosophy is worth reading too. She offers great reminders on working with children on creative projects. 

This would make a great gift for a crafty family with several children!

Would you like to win a copy? Just leave a comment here and like me on FB too if you would. I will pick a random winner on Friday, October 19th. WOOO HOOO! Good luck!


Monday, September 24, 2012

make story maps (and a book review)


Inspired by the recently published book, Show Me a Story, by Emily Neuberger, my kids and I sat down one morning to work on a story map. What started as a creative kick starter, turned into a four hour project that kept us highly engaged until lunch. 


We love making maps, so this was not something too new. What was different was the scale (the entire floor of our learning lab) and the inclusion of many, many plastic creatures (and cotton balls, blocks, fabric trees and more). 

We became consumed by the creation of our paracosm and all the details that had to be negotiated so that each participant had their needs represented in the map. 


After the map was basically complete, the characters came to life. We had the primary inhabitants of the island, their protectors (a group of wild cats that could be called in times of danger by means of a special whistle), the reptilian antagonists and a band of misfit animals that just did not fit in anywhere. 

Once the map and characters were settled on, the imaginative play and stories developed. A baby washed on shore and had to be saved, special gems were being protected from giant worms that crawled underground and sprung up at inopportune times, and many visits to the wise one (Yoda) who lived in the volcano were made. 

Story and plot developed on top of each other almost like a kaleidoscope (that is what happens when you have three energetic authors). 


Neuberger's book shares 40 ideas, crafts, and games aimed at helping kids invent and play with story telling. Her entire philosophy spoke to my sensibility with her support of open-ended creative play and an emphasis on ample space with simple items to spark imagination.


She offers projects like story disks, dice, grab bags, blocks and stones that get creative juices flowing to start inventing new worlds and adventures. 

After a story (or three) is created, she provides projects that let kids "play" with what they wrote. From puppet theaters and stage set pieces to maps and story jars - her ideas are impressive and inspirational. As I read through, I marked many pages of projects I wanted to do with my kids and other home school kids in my circle. 


One of the best things about Show Me a Story is the wide age range the activities accommodate. Most of the projects have an appeal from preschoolers to middle schoolers with slight variations and adjustments. I have already marked several writing games to play with the young writers' workshop I host. 

I highly recommend this book for any home schooler, crafty parent or teacher. In fact, this would be a fabulous gift for your child's teacher, scout leader or Sunday school teacher. 

I received a review copy of this book. All opinions are my own. 


Wednesday, September 19, 2012

exploration lab :: pendulum art


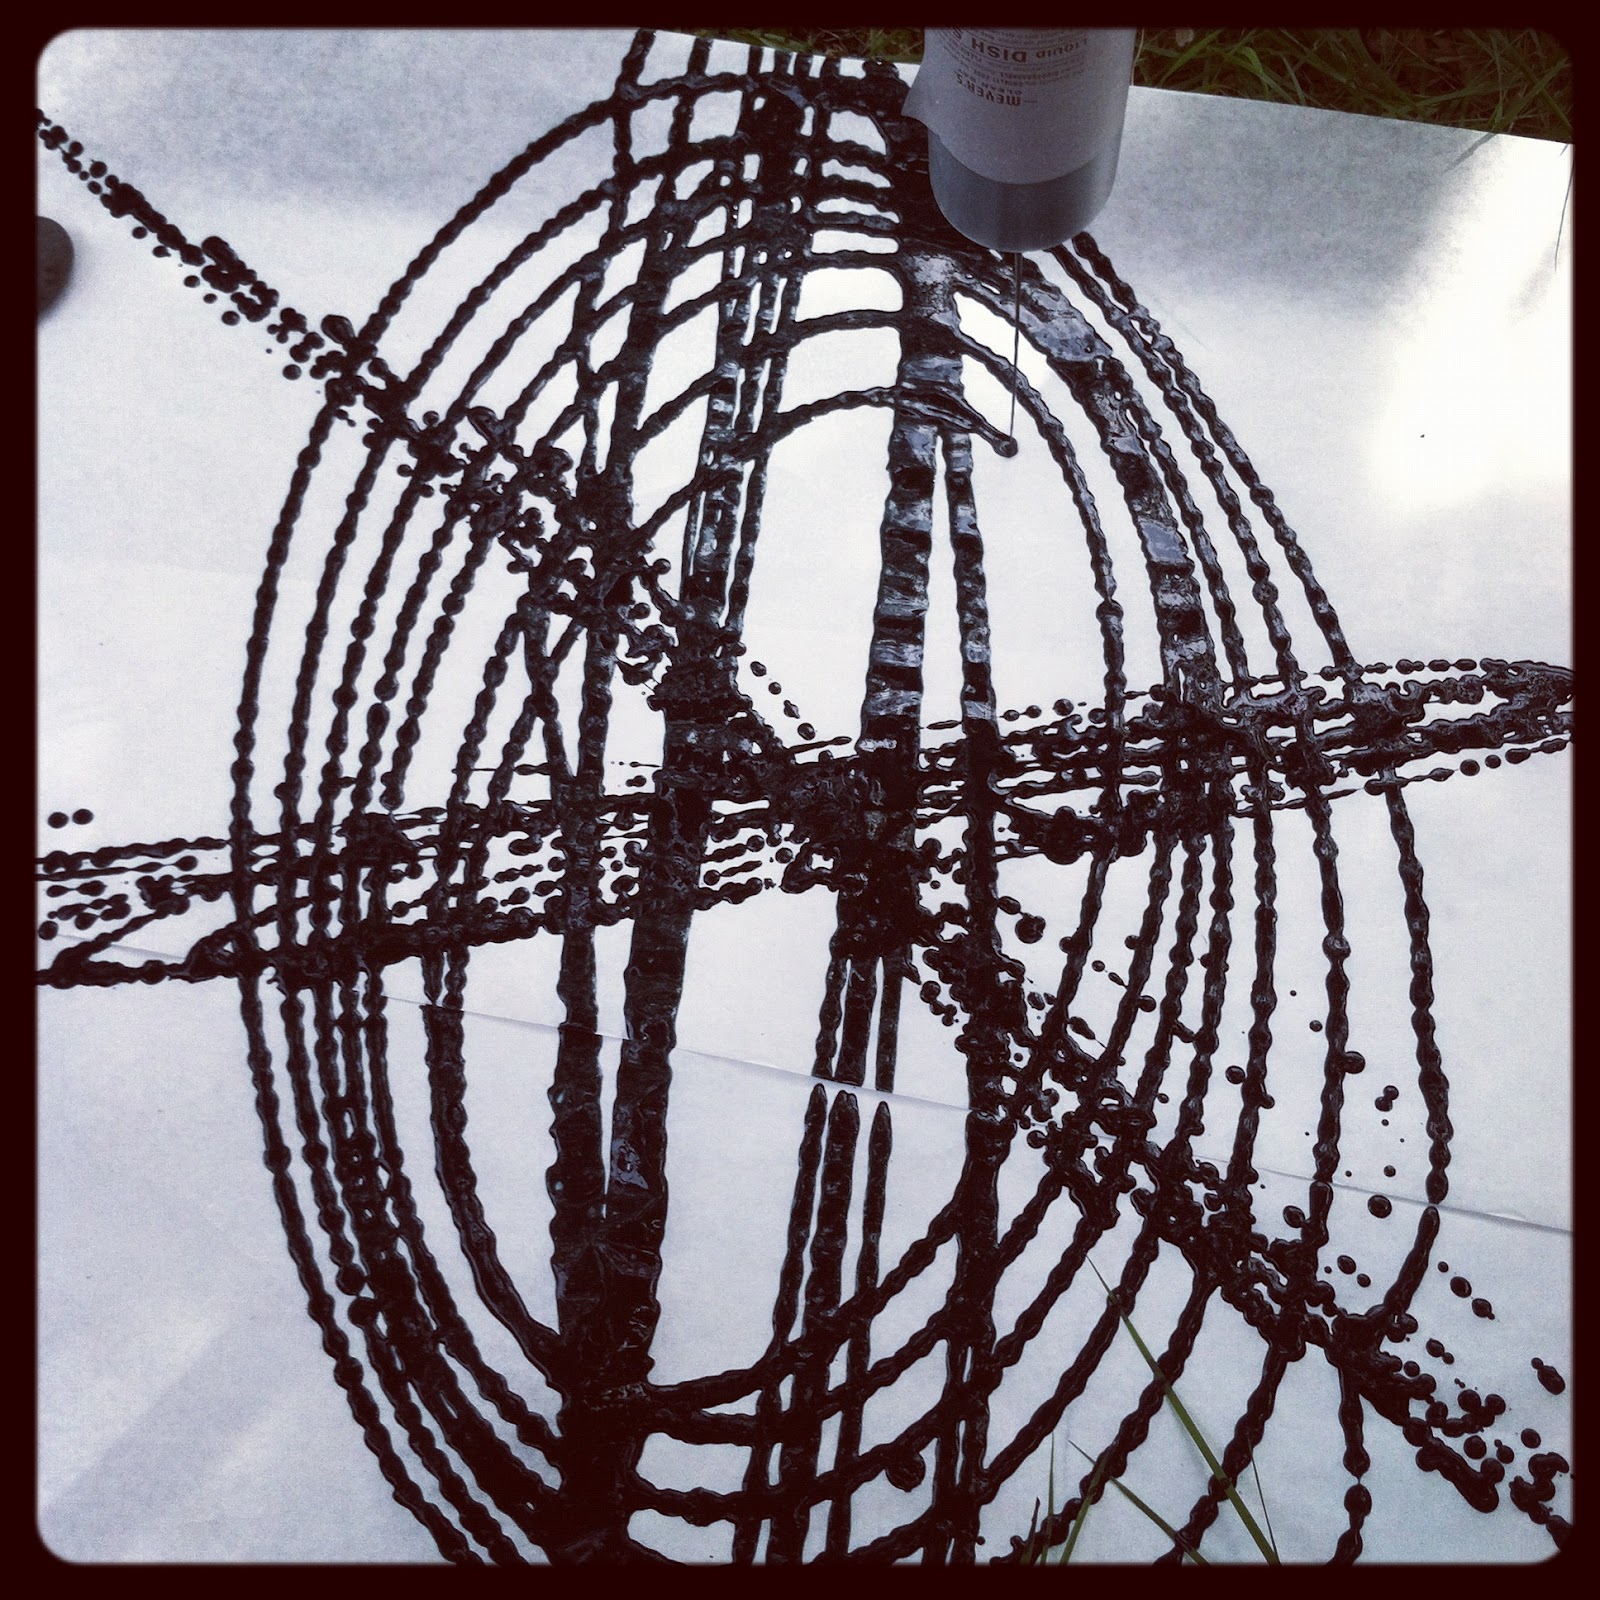
Pendulum painting has been on my list to do for such a long time. I am so glad that we finally did it - it was fun for everyone.

What you need:
empty plastic bottle with small spout
yarn or string
watered down tempera paint
butcher paper


Cut off the end of the bottle, poke four holes evenly around, and tie yarn on. Leave a good amount of yarn because you might want to hang the pendulum up somewhere high.


Where to hang? We are incredibly lucky to have a full sized geodesic dome that works great for projects like this, but a tree limb, ladder, or even chairs with a broom stick will work. 


Fill with paint and swing. 

This is where all the experimenting comes in. 

Thickness of paint, method of swing and height of bottle, all change the outcome. 

Plan to play, get messy and try different ideas. 


The Mama Scout e-Lab is registering right now! If you would like a month full of creative writing prompts, family challenges, inspirational essays and links to cool resources, click here to read more. 

LinkWithin

Related Posts Plugin for WordPress, Blogger...